

How To Paint Billie Eilish Painting With Acrylic Paints
Looking for the amazing portrait of Billie Eilish? Creating a freehand painting of Billie Eilish in a playful cartoon style can be an exciting and rewarding experience. In this step-by-step article, we will explore how to capture her unique style and personality on canvas with acrylic paint. Get ready to infuse color and fun into your artwork as we break down the process into detailed steps.
Video Tutorial Of How To Paint Billie Eilish Painting With Acrylic Paints
NEEDED SUPPLIES BEFORE DIVING INTO FREEHAND FEMALE PAINTING
Before delving into the captivating world of freehand female painting, it's crucial to gather the necessary accessories to ensure a smooth and enjoyable artistic process.
- Drawlish Acrylic Painting Pens Set of 24
- Acrylic Paint Set: 12 Tubes + 3 Brushes
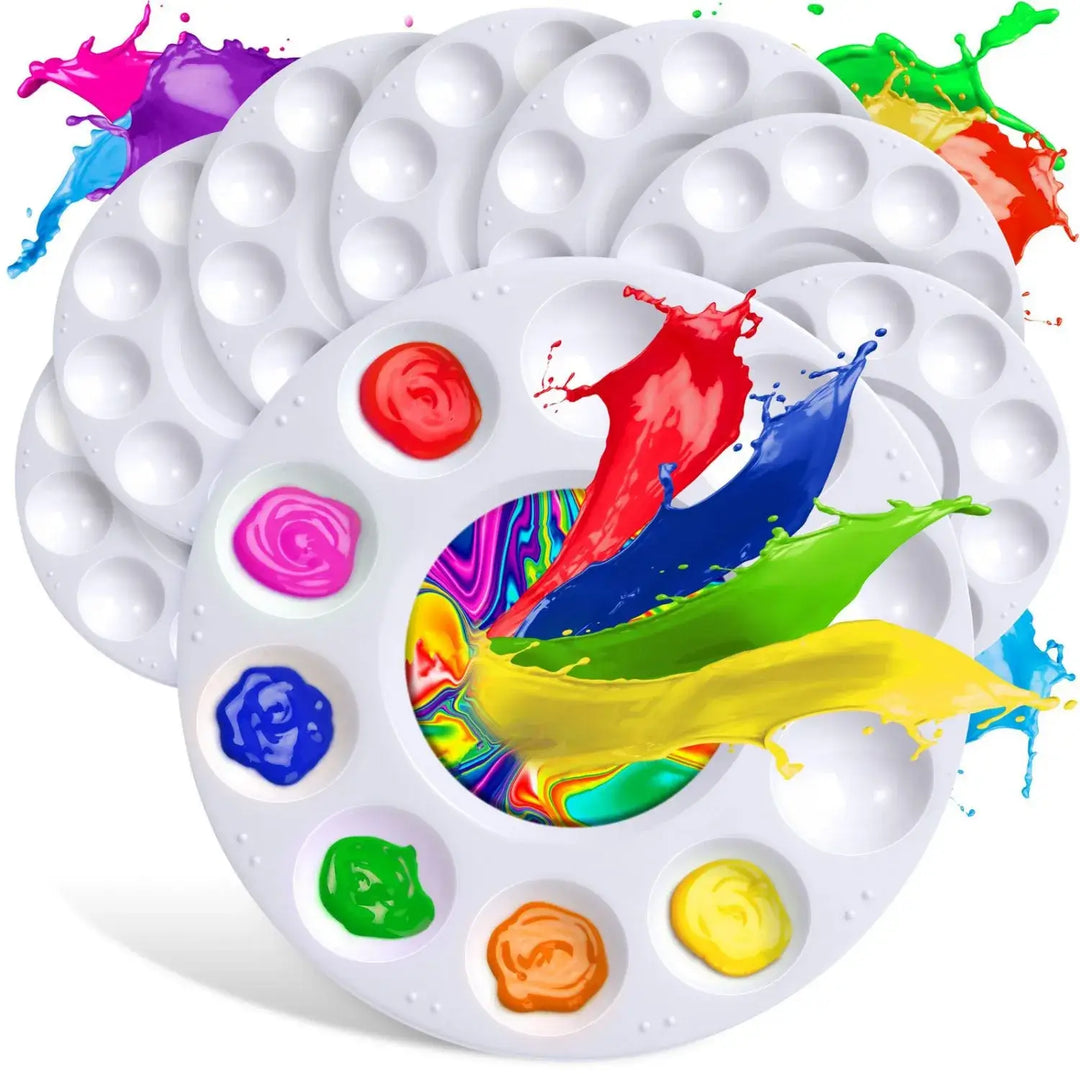
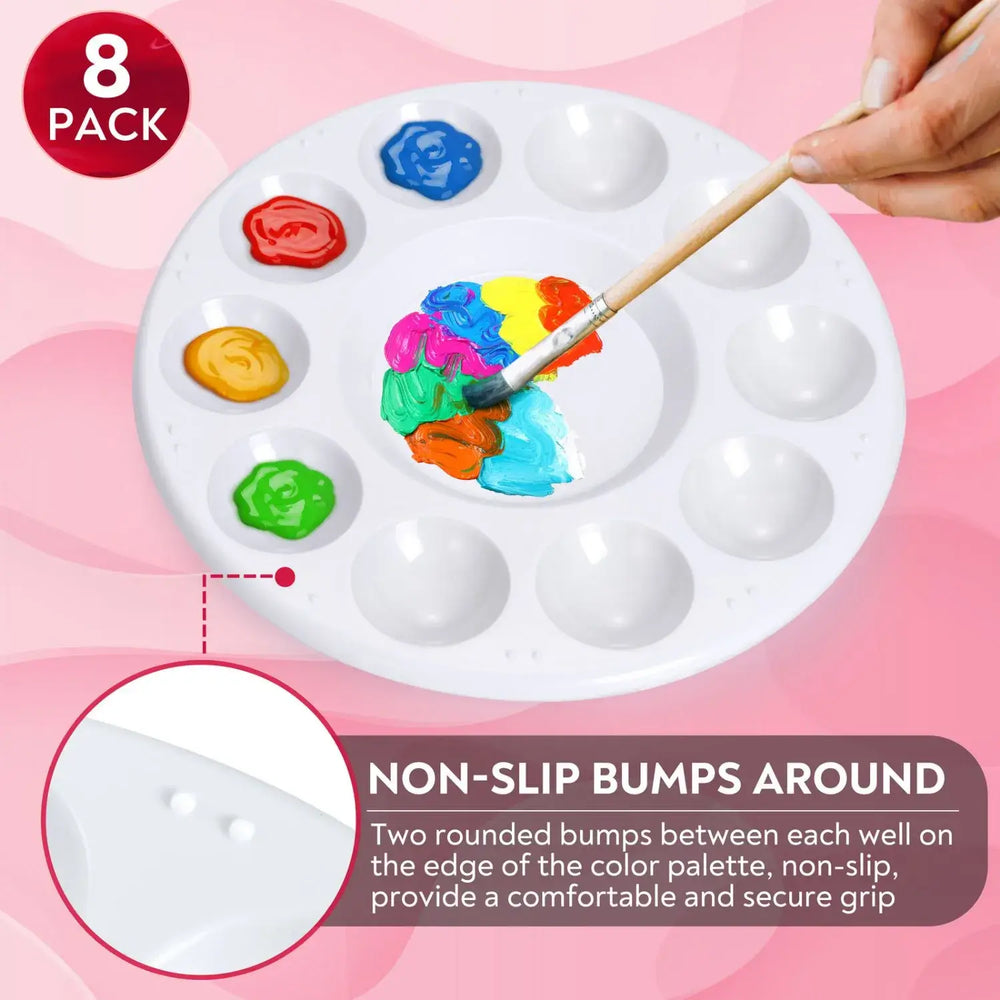
- Drawlish 8 Artist Paint Palette Tray - 11 Paint Wells of Artist Palette
- Set of 8 Drawing Sketch Pencils
- Canvas: Choose a size for detailed work; use easel or table for freehand painting.
- Water Jar: Keep water nearby; clean brushes for color purity.
- Protective Covering: Use drop cloths to prevent spills; maintain a tidy work area.
STEP-BY-STEP GUIDE TO PAINT FREEHAND FEMALE PAINTING
Step 1: Prepare Your Canvas
Begin your artistic journey by setting up your canvas on either an easel or a flat surface. Ensure the space is well-lit, allowing you to see your work clearly, and gather all necessary materials within easy reach. Having an organized and well-prepared workspace sets the foundation for a focused and enjoyable painting experience.
Step 2: Sketch the Outline (Optional)
For those comfortable with sketching, consider lightly outlining the main features of Billie Eilish on the canvas using a pencil. Pay close attention to the placement of facial features, the flow of her hair, and the details of her clothing. This optional step serves as a guide for the subsequent painting process.
Step 3: Paint the Hair
Embark on the creative process by focusing on Billie's distinctive hairstyle. Starting from the top of the head, use broad strokes to paint the hair with a vibrant green color. Aim for a dynamic and playful effect in this initial stage. As you progress downward, transition to black for the remaining hair, maintaining a cartoonish style that captures Billie's unique look.
Step 4: Define Facial Features
Bring Billie's face to life by defining her facial features. Use black paint to emphasize her eyebrows and add eye blushes, highlighting their bold appearance. Create lively and expressive blue eyes that convey her personality. Introduce orange-colored makeup and lipstick to capture Billie's distinct and vibrant style, making her features pop against the canvas.
Step 5: Clothing and Accessories
Shift your focus to the outfit and accessories. Paint the cartoon version of Billie Eilish in a blue T-shirt with half sleeves, ensuring the color stands out against the white background. Add a whimsical touch by incorporating small, short hair branches on her face. For the hairstyle, craft rounded pigtails that exude a playful vibe, staying true to the cartoon aesthetic.
Step 6: Add Details
Enhance the overall charm of your cartoon character by incorporating white bracelets and chains onto her wrists. These details contribute to the character's personality and style. Take your time to add any additional features or accessories that feel fitting for your interpretation, allowing your creativity to shine through.
Step 7: Final Touches
Before concluding your painting session, carefully review your artwork. Make any necessary adjustments to ensure that the colors are vibrant, the features are well-defined, and the overall composition aligns with your artistic vision. Allow the painting to dry completely before moving on to the next steps or displaying your masterpiece.
2 Tips For Extraordinary Painting:
Congratulations! You've successfully transformed Billie Eilish into a playful cartoon character with acrylic paint, this article provides a step-by-step guide to painting a freehand female painting of Billie Eilish as a playful cartoon character on canvas with a white background. The painting is colorful and fun, and showcases Billie Eilish’s unique style and personality. The painting process involves sketching the outline of Billie Eilish’s face and hair on the canvas, painting the hair with green and black colors, painting the face with black, blue, and orange colors, painting the t-shirt half sleeves with blue color, and adding white bracelets and chains to complete the look. With these steps, you can create a beautiful painting of Billie Eilish that will be sure to impress your friends and family. Happy painting!
Leave a comment